Author’s Blurb: From my years in uni, I do know the very basics of video editing through software like iMovie and Final Cut Pro. Watching some of my more experienced friends edit a video so effortlessly has often made me curious to learn, but some controls are just way too complicated for me to pick up.
But then Designs.ai came along and promised everyone a better way of producing and editing shorter videos without the added confusion.
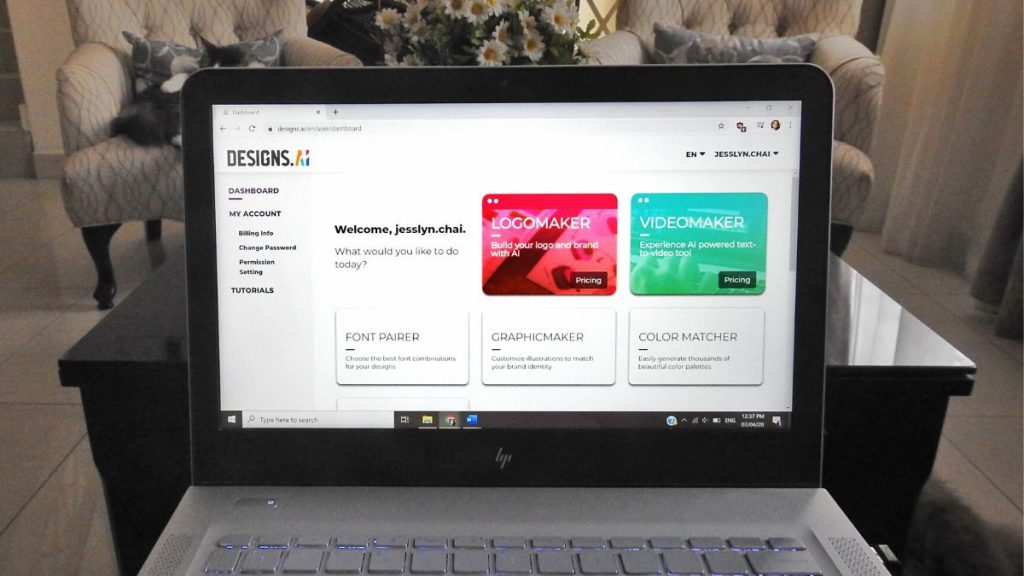
Via their Videomaker tool, Designs.ai uses artificial intelligence (AI) to allow users to create bite sized videos in a shorter amount of time.
Note that I mentioned shorter, bite sized videos—so if you’re looking for a Final Cut/Adobe alternative, I’m afraid you won’t find it here.
But even with this in mind, I wanted to try it out. After all, you’ll never know when you’d need to come up with a quick video on the spot.
However, I also wanted to consider the opinion of someone who’s more well versed with video editing and get their thoughts on whether or not Designs.ai would be a sustainable option for future videos.
So one day, I managed to corner Joyce, Vulcan Post’s in-house video producer, and we got to testing out the Videomaker.
The Setup
Before anything, we had to figure out how to work this thing. Evidently, the process was quite simple.

As you can see from the picture above, there are 4 steps altogether that you need to take in order to preview the video. These are to enter the Text, Industry, Mood, Voice and finally, to see the first draft.
Once you’re finished entering your desired text, you’d then be prompted to select the colour you want your text in and the box it’ll be in.
After you’ve finished entering the Industry you’re working in, you’ll be given a few options for the ‘Mood’ of the video you’re opting for.

Then it’s up to you to select the type of voice you want to use for a narration.
Designs.ai actually places a little ‘speaker’ icon at the side of the category box, which I assume is meant to preview a snippet of what it sounds like. Unfortunately, that doesn’t work for me when I click it.
Once all of that’s done and dusted, the screen renders for about 2 minutes.
Designs.ai then takes you to the previewing dashboard, which is the final step for you to tweak and adjust your clip as you see fit.
The video is mixed together based on all the elements that you selected prior to this.

What Do We Think?
Designs.ai chooses stock footage based on the script that you feed it (so if your script mentions recycling, it pulls up stock videos that are related to the act of recycling), tailors music based on the mood you choose, and wraps it all up with your intended narration.
So even though I was all for AI making my life that much easier, Joyce had a different POV.
For some context, Joyce has worked on videos that are quite similar, using Adobe After Effects. An example of the work she’s produced is below.
On the other hand, using Designs.ai, this is what we managed to achieve.
Granted, it came out looking more like a disjointed comedy short than a serious video about recycling, but do keep in mind that this was our first try with minimal editing.
On a more serious note, Joyce observed that there were a few things that felt a bit off. For starters, Designs.ai is marketed as a platform that’s meant to be beginner-friendly.
However, using its end dashboard, there were certain ways where this concept didn’t show.
She was right about this because if she hadn’t been there with me, I wouldn’t have immediately known what a Ken Burns effect in a video meant, or what an anchor point was.
Dictionary Time: The Ken Burns effect is a type of panning and zooming effect used in video production from still imagery, and an anchor point is basically the point of which the object is going to animate from.
In her opinion, all of this could’ve been streamlined with a quick 30 second tutorial about what’s what, or maybe even little info sections at the side of each label to tell total rookies what they’re supposed to be looking for.
But there’s a bright side to this. Joyce takes about a whole working day (6 hours give or take) for the post-production of her original bite sized videos.
Using Designs.ai however, this entire process takes about 15-20 minutes. It says on their website that this process should only take around 2 minutes though—but I believe that’s in a situation where you would have zero edits that need to be done.
Realistically, if you want to arrange the font and tweak other elements, it would take much more time than that.
Joyce also brought up a similar AI video editing platform called Lumen5 that allows users to choose different styles of videos. This was not an option (yet, anyway) for Designs.ai.
Since their Videomaker is a relatively new feature, both Joyce and I tried not to be too hard on it, but agreed that there was much that could be improved on.
However, despite being quite new to the market, they already managed to provide us with a good selection of 5.5 million stock videos and about 150 million images from sources like Getty and 123RF to choose from.
Prices for Designs.ai start from US$33 (RM143.87) and can go up to US$400 (RM1,743) depending on the number of projects you’re looking at generating.
Designs.ai’s Videomaker was built to allow creatives to reduce the time, effort and resources spent on tirelessly creating quality content—and I think they managed to achieve part of that.
The downside is that you don’t get to be a stickler for personalised details when you’re relying on the power of AI to get the job done, but it works if you’re looking for something quick.
Bottom Line: I did find that although certain explanations were lacking, I enjoyed using the interface. It was simple, clean, and a good alternative when you needed to throw something together quickly.
- You can read more about Designs.ai here.


